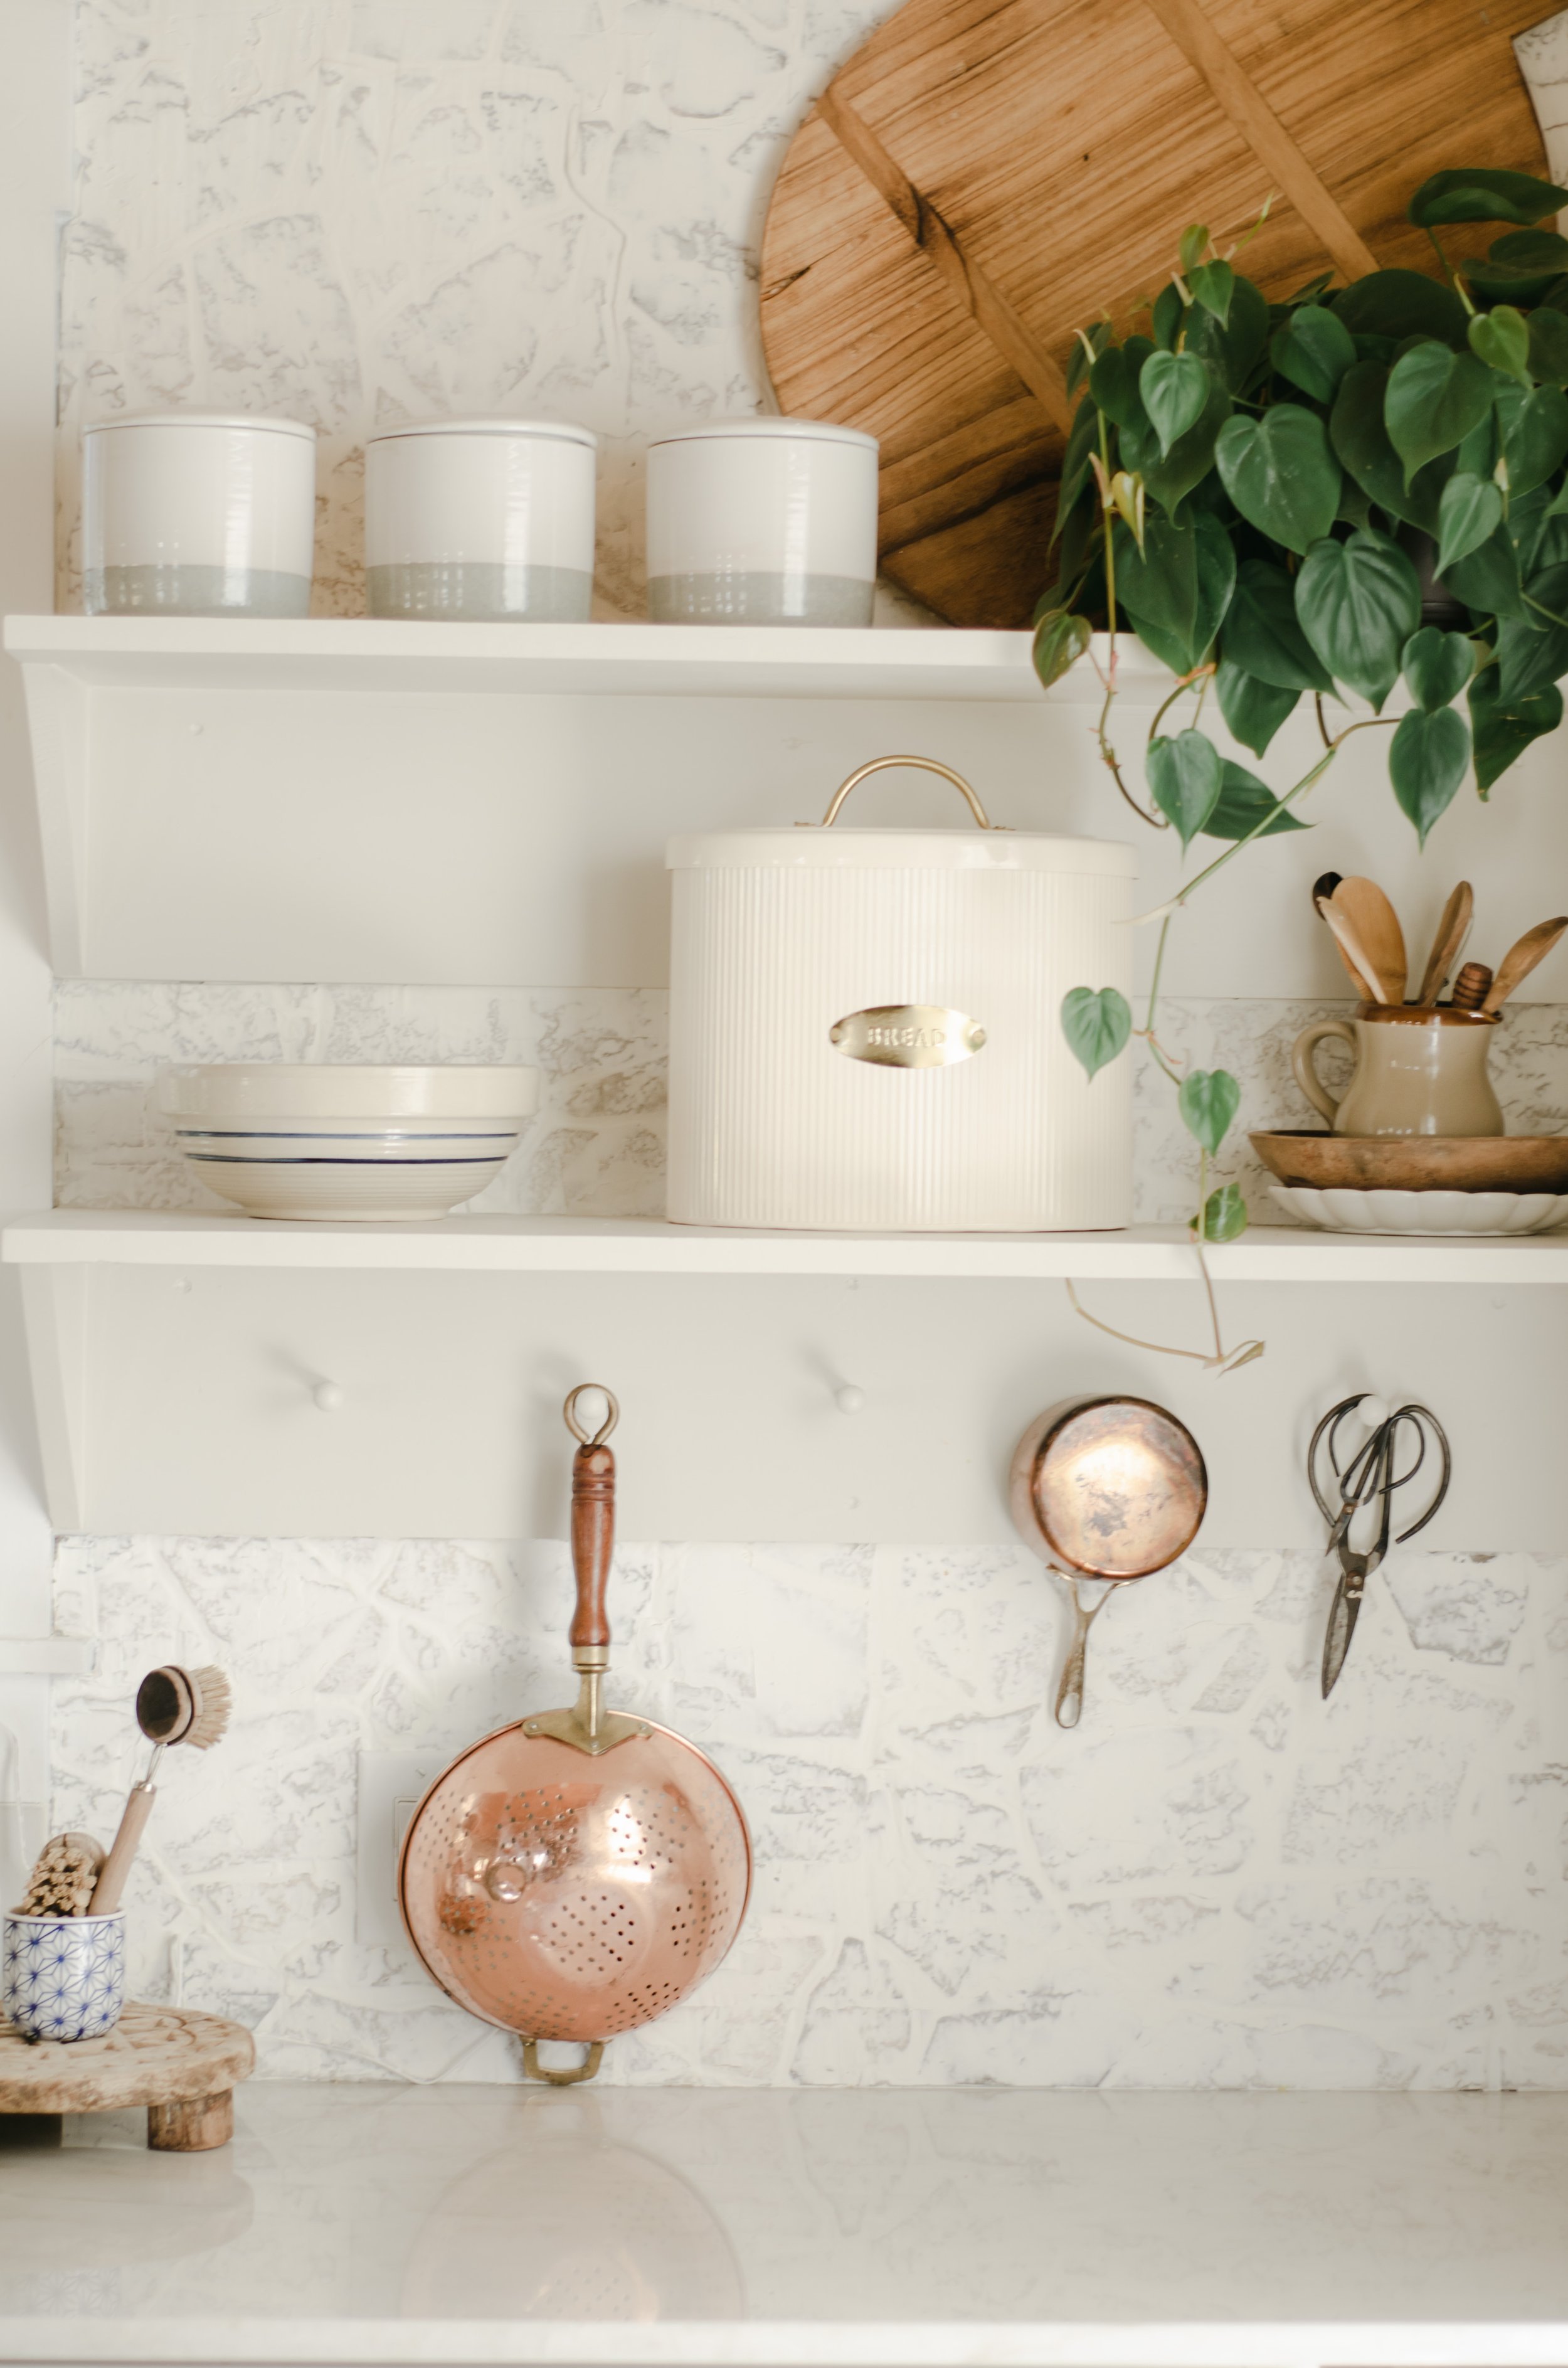
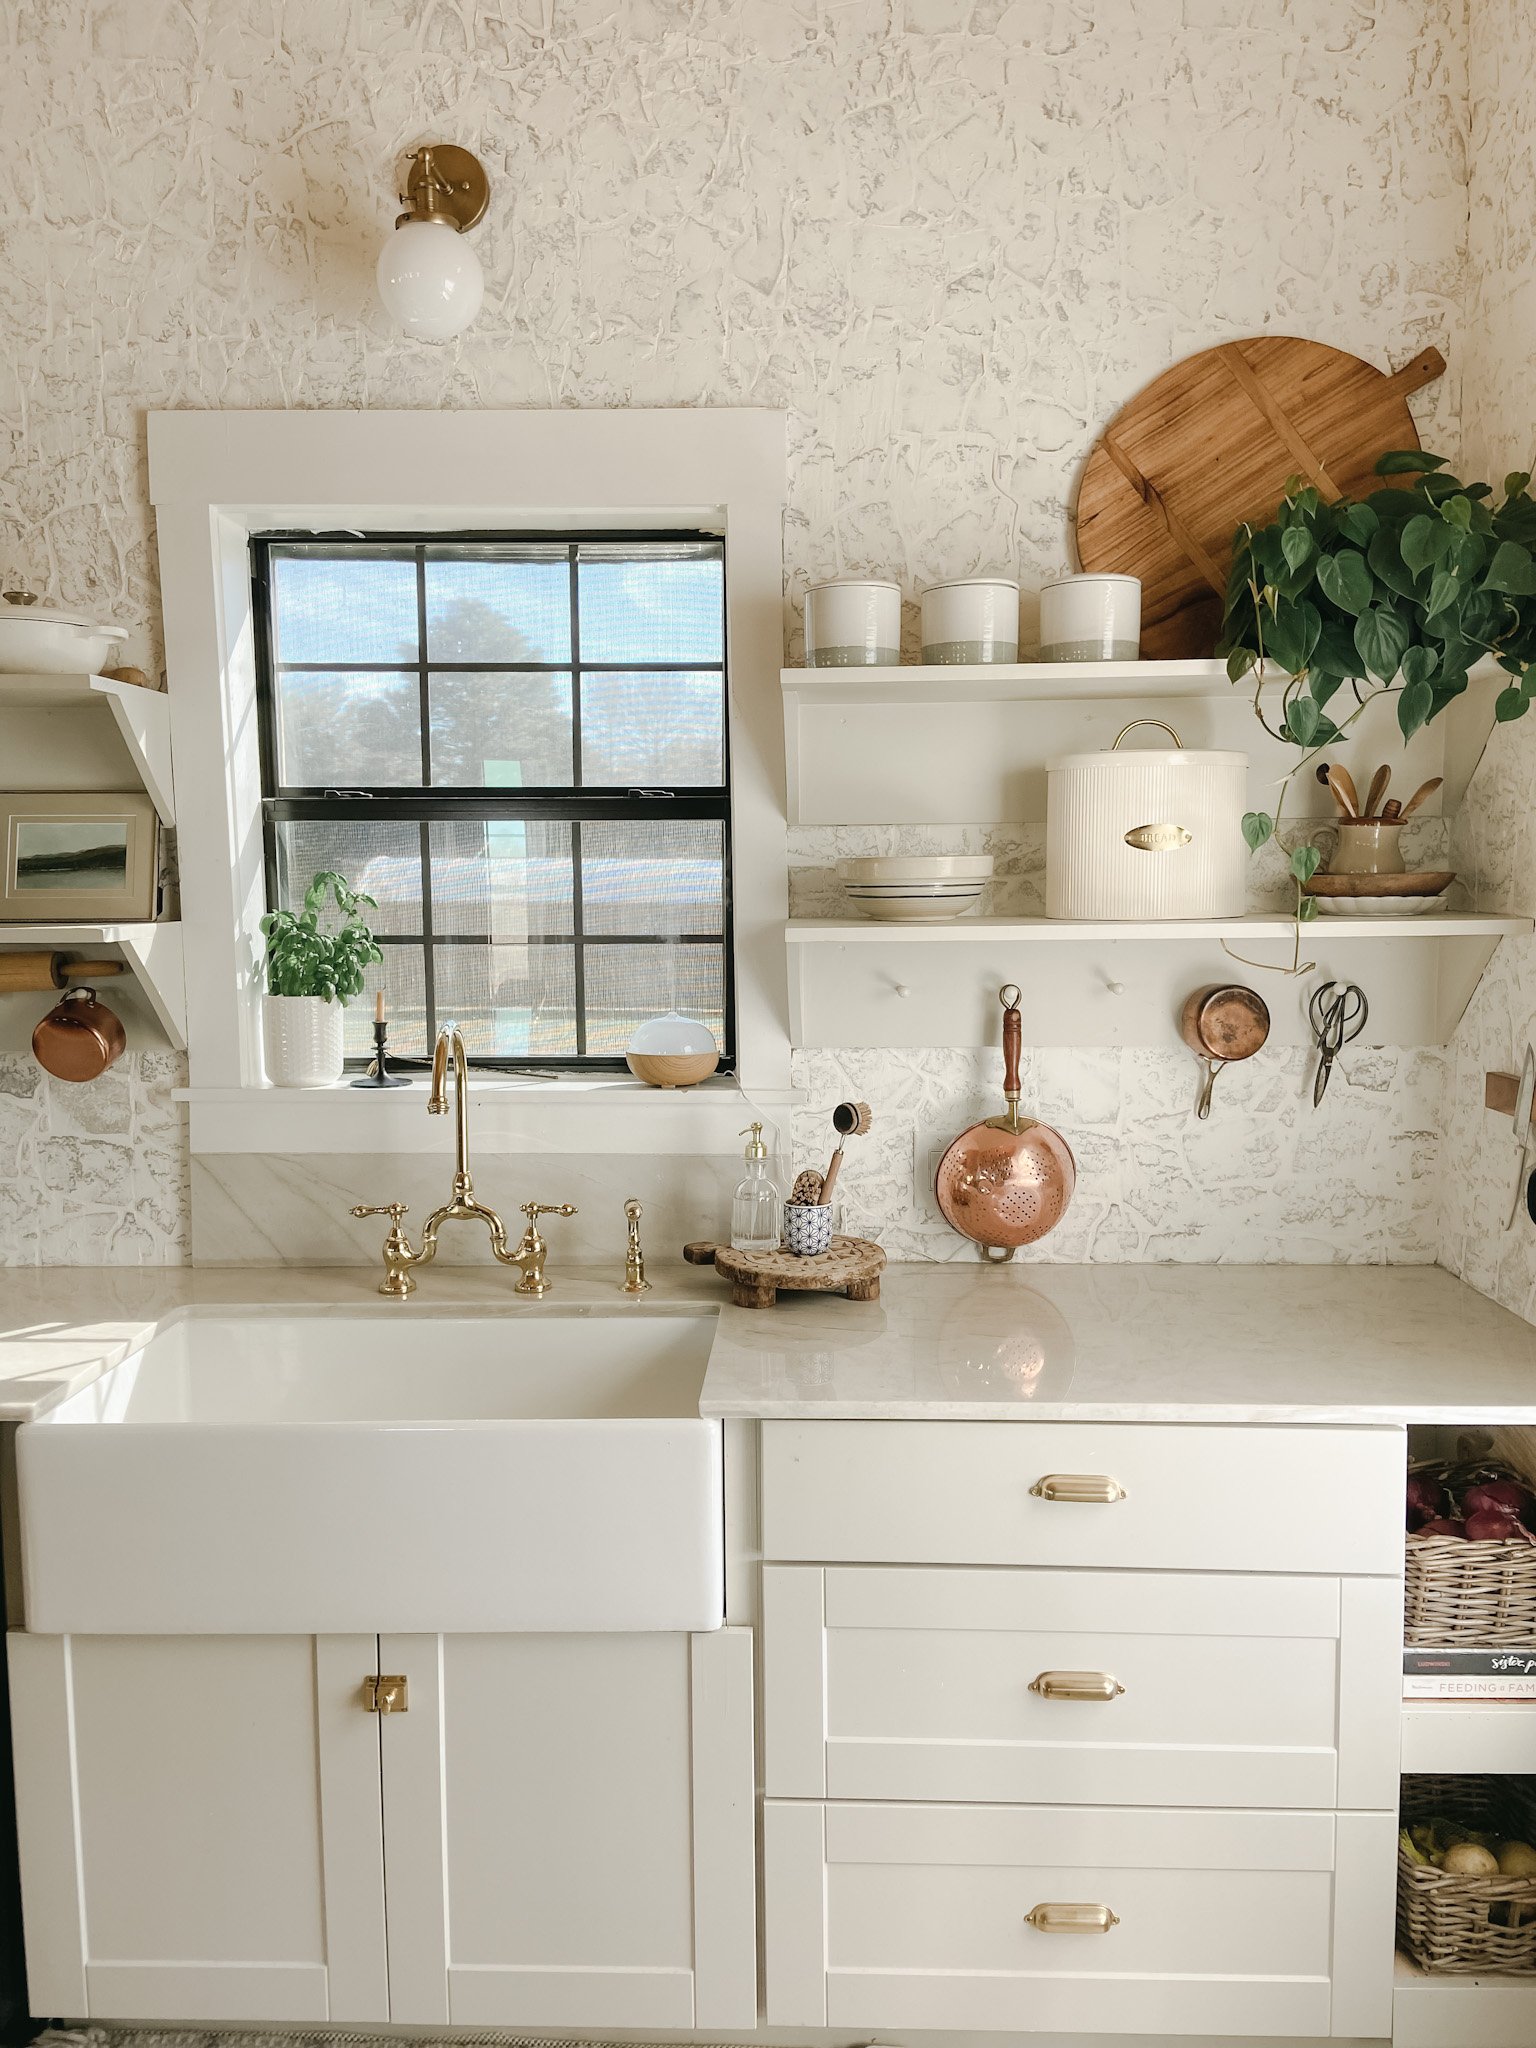
Moving to Texas has been a real blessing, but the transition certainly came with its fair share of challenges. Finding and purchasing a home sight unseen was a real experience and required a leap of faith, especially knowing we would have to work on making it our home within the confines of a tight budget. The farmhouse we ended up purchasing certainly came with lots of charm, but was basically a blank canvas for me to get creative with. Designing a kitchen I had never physically laid eyes on made an already difficult task extra challenging. I chose to add a cottage feel to the kitchen, which meant covering a large area with “schmeared” stone. We had already splurged on the countertops in the kitchen so our budget didn’t allow for a mason to come in and add real stone to the nearly 70 sq. ft. space needing covered. It took some researching, but I was able to find these faux stone panels which made the look I was hoping to achieve a possibility. All in all, working with these sheets was time consuming but wasn’t much of a challenge to complete. I couldn’t be more happy with the outcome we achieved and did so within budget. I got everything we used for the project at Home Depot, except the panels are from Amazon, linked below.
Pictured above is everything you will need to complete this project successfully.
Step One: Measure and cut the faux stone panels. Pick a corner of the project space as a starting point and work out from there. We used a T-square, typically used for drywall, to lay out the 90 degree corners and to cut the straight edges of the stone panels. It doesn’t matter which direction you choose to lay out the panels on your wall since you will be schmearing the panels in the end. Do some planning and lay the panels in whatever direction makes most sense for the space you’re covering to allow for as little panel waste as possible.
If the space you’re installing is square: measure the space, lay out the panels on the floor in the pattern they will best fit on the wall, then use the T-square to properly lay out the space you measured on to the panels laying on the ground. Use a sharpened pencil to outline the area of the panel you will cut off to fit your space.
If your space isn’t a perfect square or rectangle, measuring the panels can be tricky since the panels are jagged and uneven on the edges where they fit together, making measuring the space tough. Picking a point where the panels will meet as your point of measurement is the best way to get the pieces to fit the space correctly. Measure from one of the points where the panels fit together and go outward to the ceiling, wall or cabinet where the panel will end. As a general rule of thumb to avoid wasting materials, cut your panels on the long side which will allow you to put the panel in its place and cut off more of the panel if needed.
Use a set of sharpened heavy duty scissors to cut the panels.
Step Two: Adhere the panels to the wall. Apply the liquid nails to the space you’re covering, or to the back of the panels themselves. Using a staple gun, attach the panels to the wall. Try and put the staples in the “grout space” between the stones on the panels as this will allow the staples to be covered with the smear more easily. If you have a corner that doesn’t allow for this, adding a staple to the stone isn’t the end of the world. It may just require more spackle to cover the staple in the next step. I recommend allowing the glue to dry for 24 hours before moving on to the next step of adding the smear.
Step Three: Schmear the stone panels. Using painters masking tape, tape off any counters, cabinets or any other area you want to keep free and clear of the schmear. Depending on the size of your space, pick the right sized putty knife to spread the spackling being used as the schmear to cover the stone panels. We used a smaller putty knife to get the spackle out of the container and onto the stones. We then used a wider putty knife to smooth the spackle evenly across the panels. Spread the spackling evenly over the panels, filling the grout lines completely and lightly covering the stones with schmear. Allowing some of the stone show through the smear is key to achieving the desired visual appearance of the smeared stone look.
Step Five: After allowing the smear to dry completely, it’s time for the finishing touches. Drying will typically take 24 hours to do the trick, but could take longer depending one how thick you choose to schmear your stone. If you have lines in the smear from spreading it, you can use a 120 grit sanding block to knock down any excess spackle lines. Re-tape the edges of your project area, and then apply caulk to the edges in order to fill any gaps where your panels meet the counter or cabinets. The last step in this process is applying the water based poly urethan over the top of the smeared stone. This will seal the smear and allow for your stone wall to be cleaned with greater ease. We wanted to keep the wall from appearing glossy, so we chose to apply a matted urethane to finish off our project, but you can chose to us a glossy finish if you wish.